5 Key Steps in Capturing High Dynamic Range Photos with any Camera
Introduction
When forensic technicians first arrive to a serious crime scene, it is often late at night or into the early hours of the morning. These crimes occur and are investigated under a wide variety of lighting and environmental conditions. This creates technical challenges for the crime scene photographer who must capture these images at the highest possible level of detail under less-than-ideal conditions.
A poorly lit subject may require multiple images, including the use of flash photography from different angles at different focal lengths and exposures to capture various details.
High Dynamic Range (HDR) photography is a technique that can help overcome many of these challenges to capture a high level of image detail under a wide variety of lighting conditions.
In this article, you will learn the key principles behind HDR photography and how to apply them to everyday situations, greatly improving the image quality of your photos regardless of the type of camera you are using or the purpose of your work.
High Dynamic Range (HDR) Photography. What is it?
As sophisticated as the highest-end cameras are today, they do not come close to the optical sensitivity and dynamic range of the human eye. The human eye is much more capable of detecting a very wide range of colors, shades, and contrasts of any given scene.
Using computational photography, professional photographers mimic the key attributes of human vision using computer software in postproduction.
HDR Photography mimics the eyes’ sensitivity to shade and contrast by capturing multiple frames of the scene at different exposures and then merging them together using computer software.
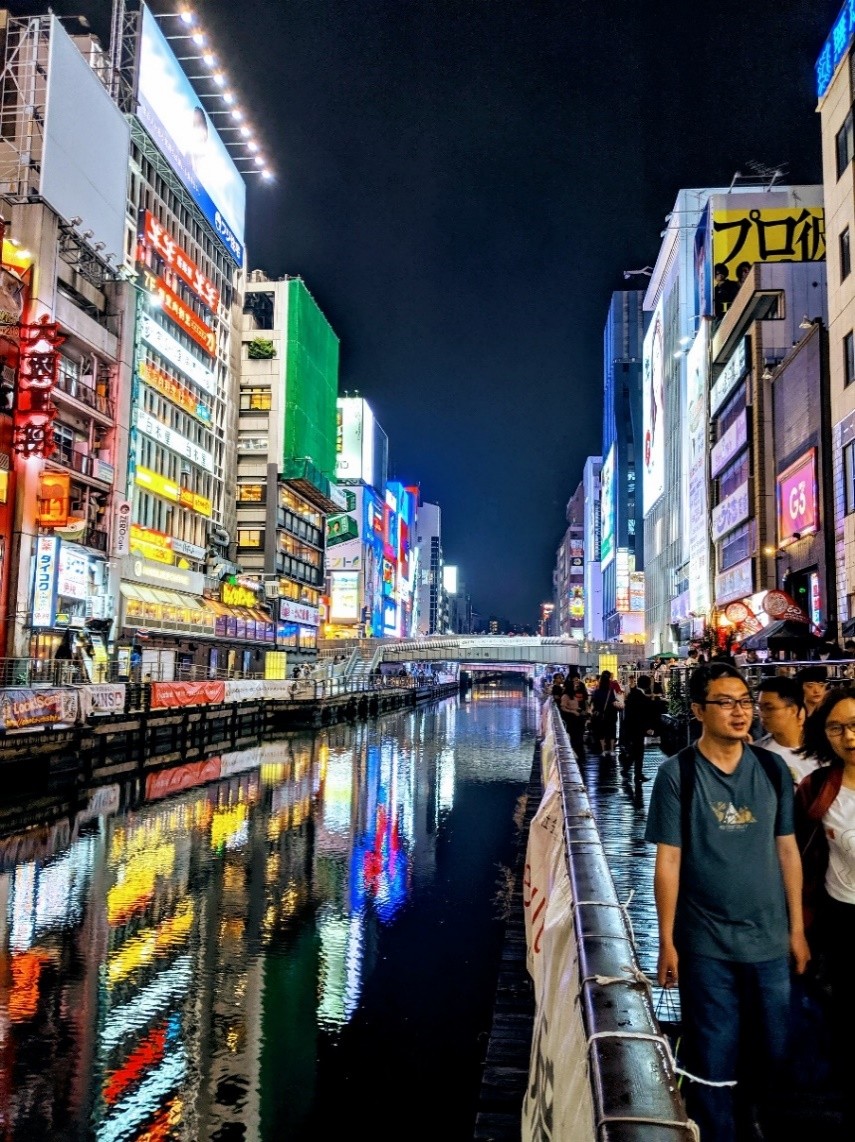
Most recently, many computational photographic techniques have been baked into the latest smartphones such as Apple’s Night Mode on the iPhone 12 or Google’s Night Sight on their Pixel line of devices allowing every user to shoot like a pro.
An Example of Night Sight Captured on the Google Pixel 2
District, Osaka Japan – Photographed by Glenn Chiang
The following sections provide a step-by-step guide to shooting photos in a High Dynamic Range regardless of the equipment you are using.
Want to learn more about the CSI360 crime scene reconstruction SaaS platform? Our next CSI360 webinar is scheduled for September 16th, 2021 at 11:00 a.m. PT. Seats Limited! https://www.csi360.net/CSI360-webinar.php
1 . Setup
HDR photography requires shooting multiple exposures of the same scene that will be merged together. This means that the camera is best held steady in the same position using a sturdy tripod or stationary stand for each exposure.
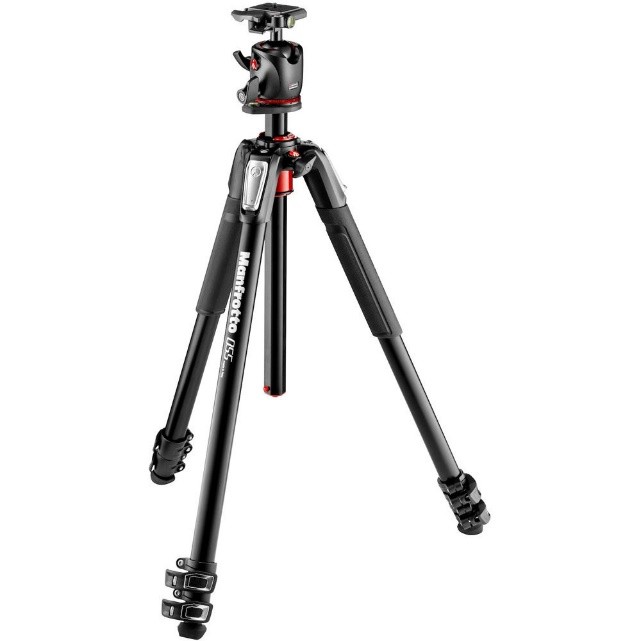
It’s also important to use a ball head mount on top of the tripod in order to lock in the optimal position with speed and ease.
Manfrotto 055 Aluminium 3-Section Tripod with BHQ2 Ball Head
Once your subject is composed and your camera position locked in, be sure to use a remote shutter release or a shutter delay to minimize shake and vibration with each exposure. This minor step will help improve the sharpness and detail of your shots.
2. Decide on How Many Brackets to Shoot
Brackets refer to the number of individual exposures of a High Dynamic Range Image. HDR photos compromise of an odd number of frames ranging from 3 to 9 individual images.
Typically there is an even number of under-exposed frames to an even number of over-exposed images anchored by a properly exposed image. Below is a typical example of a 5 bracket HDR setup. Each ‘Stop’ refers to the exposure value with 0 as the proper exposure.
The purpose of under and overexposing values is for the following reasons
- Underexposed images capture details that are lost in the highlights
- Overexposed images capture details that are lost in the shadows
Deciding on the number of brackets and stops can vary between 3 and 9 brackets and 0.5 to 3.0 for exposure values and the combination and selection vary on the individual lighting and contrast values in each scene. In general, the more frames and wider the exposure value, the greater the dynamic range of the image.
As a rule of thumb VPiX and CSI360 best practices recommends the following:
Well lit – high contrast scenes
3 Brackets, +- 0.3 – 3 Stop Intervals
Low light or low contrast Scenes
5 Brackets, +- 0.3 – 3 Stop Intervals
3. Shoot 1 Well Exposed Image
A well-exposed shot of your subject will serve as the baseline of your HDR image. If you are shooting in manual mode, you will need to adjust your ISO and aperture, to the appropriate settings for your subject. Finally, adjust your shutter speed so that the light meter is centered on the ‘0’ mark. If the shot is properly illuminated and in focus, this will be your anchor image.
For convenience, you may opt to take a ‘0’ shot in Automatic and then switch back to Manual mode to shoot the bracketed frames.
4. Shoot the Brackets
Once you have determined the number of brackets for your shot and have taken the anchor image, you can now shoot each individual bracket. You will need to keep the following points in mind for each shot.
- There will be an equal number of underexposed shots to each overexposed shot
- Maintain the same F-Stop and ISO settings for each shot
- Ensure that your focus is the same for each shot
- The camera must be steady, be sure to use a remote shutter release or 2-second shutter delay between frames
Keeping your f-stop, ISO and focus setting constant you will only adjust the shutter speed to change your desired Exposure Values (+- Stops). Once you have completed shooting the entire set, you are ready to merge these images.
5. Merging and Composing the HDR image
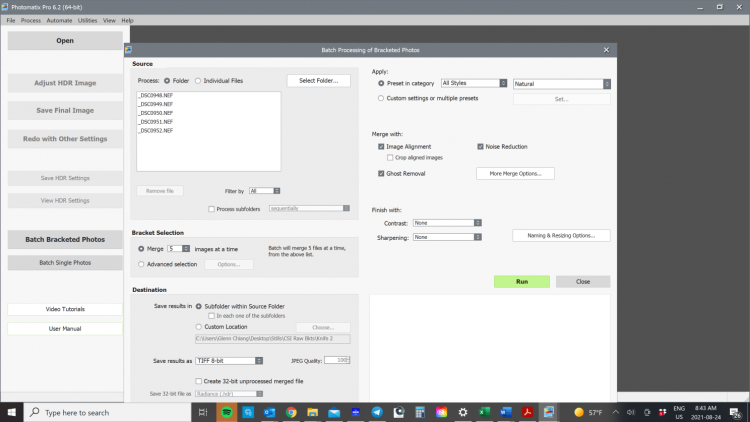
For this example, we will be using Photomatix to merge these images. Although not as robust, you can also use Photoshop or Lightroom to accomplish to create HDR output.
Once you have completed capturing all your bracketed shots, it is a good idea to save each set into its own folders on your hard drive. This will improve your workflow and keep your images organized.
Once in Photomatix, simply point to the folder holding your bracketed shots. Photomatix will automatically detect the number of shots to merge.
Once loaded, select your output and style options and hit ‘Run’
Photomatix will compare each image and determine differences in details among the different exposures. It will then merge-common details and discard extraneous artifacts for a balanced image capturing all the details from all frames.
Crime Scene Examples
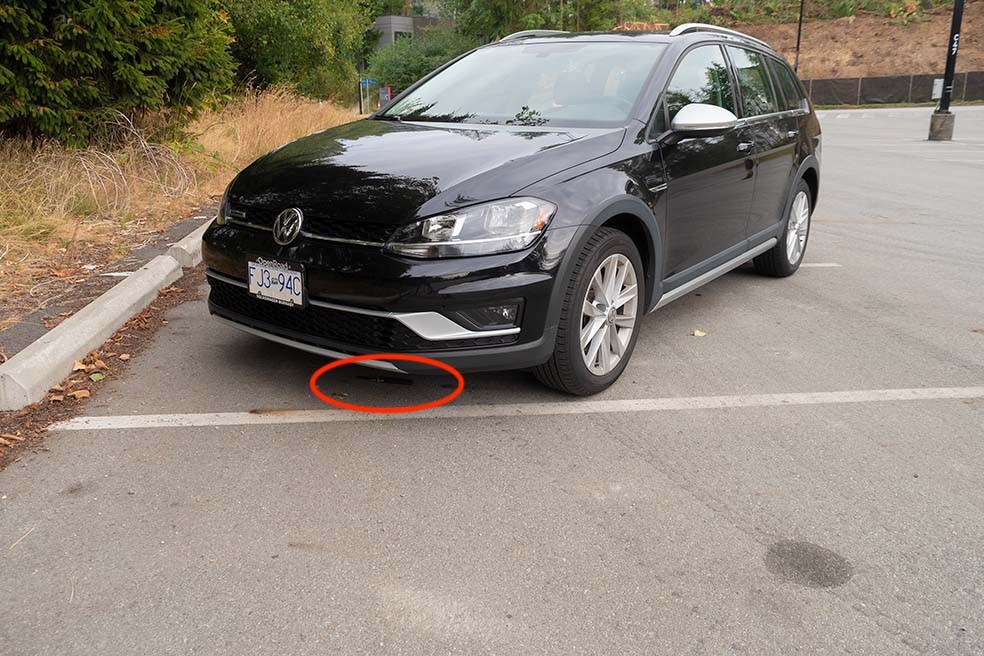
Non-HDR Image Shot Using Automatic Controls – Weapon is not Visible
Single Frame Image – Photographed in fully automatic mode on a Nikon Z5 by Glenn Chiang
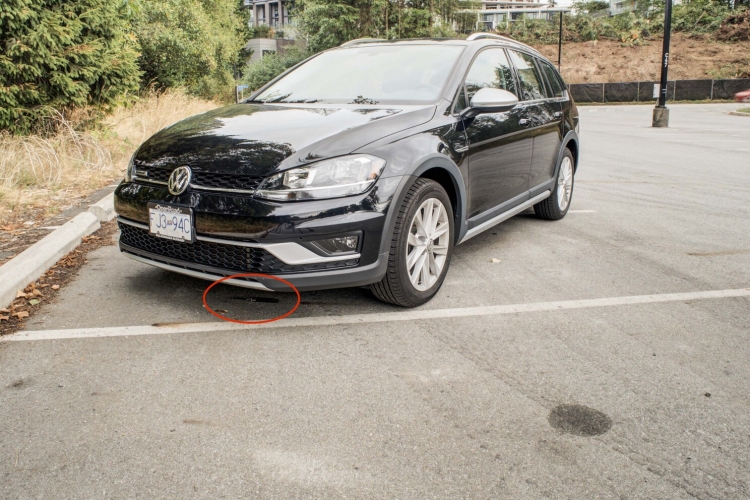
HDR Image derived from the 5 Images – Weapon is Visible
5 image bracket with +- 2 stop using Nikon Z5 by Glenn Chiang
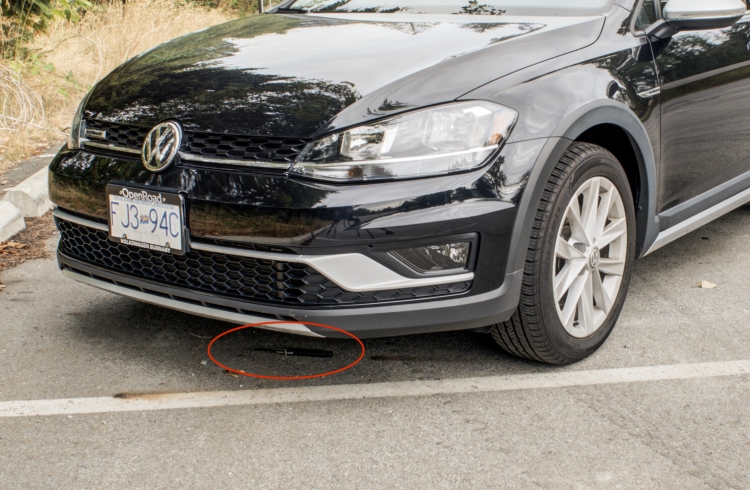
On closer inspection, this discarded weapon is clearly visible.
Conclusion
In this article, we have demonstrated the manual method of shooting and building HDR photographs so that you have a foundational understanding of how this technique works. Additionally, you will be able to apply this method to any camera regardless of its level of sophistication.
However, many enthusiasts level DSLR and mirrorless cameras on the market today have built-in Auto Exposure Bracketing (AEB) bracketing functions. With AEB, you simply set the number of desired brackets you wish to shoot and the Exposure Values between frames. Once set the anchor frame, you simply release the shutter and the camera will automatically shoot all the images.
Many of these same cameras will also have a dedicated HDR function. These functions will automatically shoot and merge the HDR image all within the camera. In our experience, however, the number of brackets and range of exposure values is somewhat limited. Although more detailed than shooting a single image in the auto-everything mode you will yield a far better result by going manual or using AEB.

